
Foggy headlights and dimming beams affect even the most conscientious drivers, so let’s look at why your lights might not be as bright as they once were, and the different ways you can restore them.
How headlights degrade
There are two main ways that your headlights degrade over time:
- Dimming bulbs
- Discoloured headlight casing
It’s important to work out what part of your headlight has degraded before attempting to repair them.
Headlight bulb lifespan
Headlight bulbs will dim over time through wear and tear. The range of bulbs used in headlights typically last for:
- Halogen: 500 - 1,000 hours
- LED: 30,000 hours
- Xenon: 10,000 hours
Headlight casing becoming cloudy
Headlight casing can become cloudy or appear yellow for several reasons:
- Oxidisation: headlight lenses are coated in a clear layer to help prevent acrylic from oxidising. Over time the coating wears off and UV light oxidises the casing, turning it yellow.
- Wear and tear: your protective coating is prone to scrapes and scratches from debris on the road, when this reaches beyond the protective layer the casing becomes damaged and appears cloudy.
- Dirt: after miles on the road, a thin layer of dirt and chemicals from pollution can gather on headlight casing, dimming your beams.
- Water vapour: headlights come with a watertight seal that often breaks through wear and tear, once this happens water can collect inside the casing, scattering beams of light.
Even with bulbs in perfect condition, your headlights will appear dim or discoloured when you have cloudy/foggy casing.
When to replace or restore headlights
The highway code (Rule 226) says: “You must use headlights when visibility is seriously reduced”, with ‘seriously reduced’ defined as when you are able to see less than 100 metres in front of you.
As headlights must be used during the hours of darkness (Rule 113), where ‘hours of darkness’ is defined as the period between half an hour after sunset and half an hour before sunrise, it’s important that your headlights are bright enough to see 100 metres in front of you at all times.
Use these distances to decide if you should replace or restore your bulbs. Make sure you replace both sides at the same time for even illumination.
Watch this video for tips on how best to check your car's lights.
Restoring headlights
There are three approaches you could take when restoring your headlights. The unconventional DIY route, the more traditional DIY route, or simply leaving it to the experts. Here’s each option, step by step.
Using household items to restore headlights
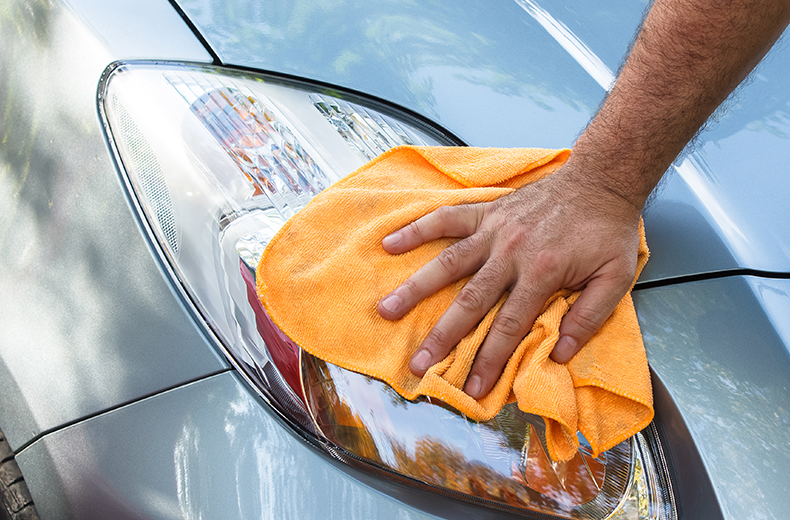
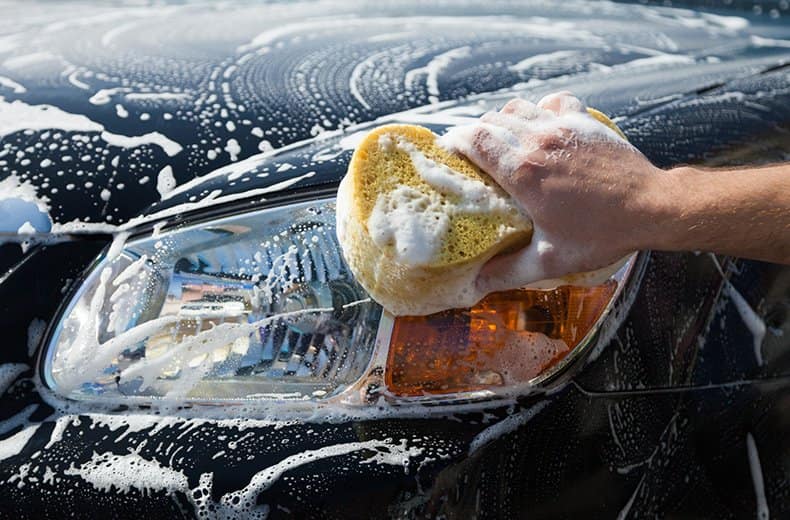
Before restoring your headlights it’s important to start with a clean surface. Use a car shampoo to begin and then pick your weapon of choice.
Toothpaste
Thanks to the abrasive elements of gritty toothpaste, it can gently wear away a surface layer of scrapes and scratches on your headlight casing.
- Apply toothpaste with baking soda (the gritty kind) to your headlight lenses, using a toothbrush
- Apply until you see the toothpaste turn dirty, or start to discolour
- Leave to dry
- Gently wash it off with a cloth and warm water
Sandpaper
- Tape off your paintwork to prevent any accidental damage
- Wet your headlight
- Wet 400 grit sandpaper and smooth across the surface of the headlight while avoiding motions that dig into the casing
- Sand any especially gritty areas on the casing and regularly check your work
- Repeat with a 600 grit sandpaper and, if needed 1000 and 2000 grit sandpaper – you may need to apply extra pressure with 2000 grit
- Wipe with a towel to finish

Hurry! Offer ends 15/05/24, 7am.
*Use code SAVE33 on Extra and Complete cover for 1 vehicle or person. New customers only. Ends 15/05/24, 7am. ^£7.00 for Basic cover, not in sale.
Baking soda
- Mix baking soda with water to create a paste
- Apply liberally to your headlights with a sponge in circular motions
- Rinse with warm water
White vinegar
This takes a little more time and effort:
- Remove your headlight lenses
- Fill up a container large enough for you to submerge your casing in with vinegar
- Soak them in white vinegar for an hour
- Use a sponge to rub any dirt away and rinse before reinstalling
Cola
This is more of a light treatment, and its effectiveness depends on your chosen brand of pop:
- Spray or soak a sponge with cola onto your headlights
- Leave for 5 minutes
- Wash away with a cloth and warm water
You may have to apply the household liquids and pastes several times for the best results. Compare the difference by taking a photo of the headlight and its beam before you start restoration.
Finish with a wax to add a protective layer and slow the effects of future damage. Remember, it’s best to think of these DIY treatments as temporary measures rather than long-term fixes.
Using headlight restoration kits
Headlight restoration kits aim to include everything you need in one set.
Kits may include a range of sandpapers, a selection of tools with abrasive discs or a wool pad ready to attach to a power drill, or even a cleaning solution and a separate coating solution to futureproof your casing.
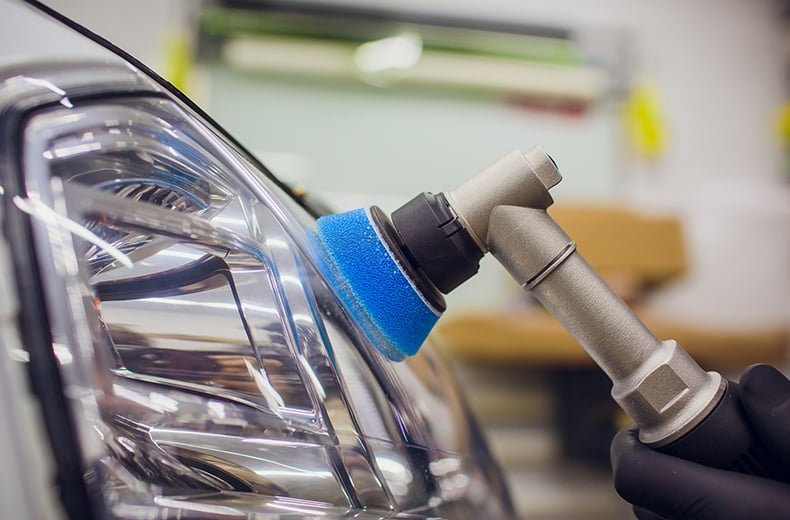
Using an abrasive-based restoration kit
You should follow these steps when using kits with sandpaper and drill attachments for sanding or buffering.
- Clean the headlight with shampoo and leave to dry
- Mask off paintwork with tape to avoid potential damage
- Apply any pre-treatment solutions if provided
- Sand with drill attachments or sandpapers in a gentle motion and try not to dig into the headlight. If your kit comes with a range of sandpapers or abrasive discs, start with the coarsest first (the lower grit number) then work your way towards higher grit numbers
- If a foam disc is provided, use it to smooth the headlight surface
- Polish with restoring compound to finish
- Repeat on second headlight
The RAC shop features two kits that use abrasive techniques:
- The Autoglym Headlight Restoration Complete Kit designed to be used with an electric drill
- Philips Headlamp Restoration Kit which has a range of sandpapers designed to be used by hand, along with pre-treatment, paper towels and gloves
Using a clean and coat restoration kit
Follow these steps when using clean and coat restoration kits:
- Cover the headlight surface with the cleaning solution
- Wipe the surface clean with a damp cloth and leave to dry
- Cover the headlight surface with the coating solution and allow to dry for 3-5 minutes
- Apply a second coat in the same way
- Repeat on second highlight
The RAC shop has the Meguairs Two-Step Headlight Restoration Kit which protects against UV damage for over 12 months.
Leave it to the experts
If you’re not so confident tackling cloudy headlights yourself or it seems too fiddly, you can always leave the job to a garage.
The cost of restoration will vary depending on whether you need to replace a bulb, restore or replace the headlight unit, and the type of bulbs you need.
Halogen bulbs can cost as little as £9 to replace while a headlight unit for a Volkswagen Polo with LED bulbs can set you back £846.
Headlights are a hugely important part of road safety so find an RAC approved garage, or trusted recommendation to use.
How to prevent headlights from degrading/turning yellow
There are a few preventative measures you can take to protect your headlights from degrading:
Regularly wash your car
Washing your car with a quality shampoo will prevent the build up of dirt and chemicals from pollution that can dim your headlights
Use polish
Polish helps to eliminate scratches that lead to discoloured headlight lenses
Park in the shade
Parking to avoid the sun will reduce the harmful effect of UV rays and the oxidising of your headlight casing.
If you are unsure on anything in this article, or want some more information contact a local mobile mechanic or take it to an approved garage.
Do you have a home remedy for degraded headlights? Do you stake your life on the toothpaste method? Let us know in the comments.
Get 30 driving tips that will save you money
Running a car isn’t cheap, but there are some easy things you can do to keep your costs down. Get these tips and more useful driving articles sent straight to your inbox now.